Moon Observation
If you’ve ever looked up at the moon and felt a spark of curiosity or a desire to capture its beauty, you’re in the right place. Whether you’re a budding astronomer or just someone who loves the night sky, exploring and photographing the moon can be a magical experience. Let’s dive into how you can get started.
Tips & Secrets to Observe the Moon
The moon is the easiest celestial object to observe and photograph. It's bright, it's big, and it's full of fascinating features that are visible even with the naked eye. Plus, it's up there almost every night, making it a perfect subject for beginners.
First things first, let’s talk about the moon's phases. The moon goes through a cycle every 29.5 days, transitioning from new moon (invisible), waxing crescent (sliver appears), first quarter (half visible), waxing gibbous (almost full), full moon (fully lit), and then wanes through gibbous, last quarter, and crescent phases.
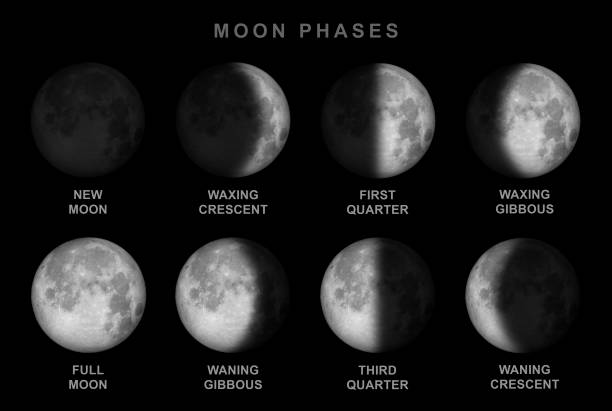
Each phase offers unique viewing opportunities. For instance, the first quarter is great for seeing details like craters and mountains because the shadows cast by the sunlight create a 3D effect. While the full moon might seem like the best time to observe, it’s actually too bright to see much detail. Instead, try during the waxing or waning phases. The shadows on the moon's surface are more pronounced, making features like craters, valleys, and mountains pop out.
You don’t need a lot of fancy equipment to start moon gazing, but a few basic tools can enhance your experience. A good pair of binoculars can reveal a surprising amount of detail. If you want to see even more, a telescope is the way to go. For beginners, a refractor telescope with a 70 mm or larger aperture is a good start. There are also several smartphone apps like SkySafari or Star Walk that can help you identify features on the moon's surface.
Now, let’s talk about capturing the moon with your camera. To avoid blurry images, a stable tripod is essential. Set your camera to manual mode, start with a low ISO (100 or 200), an aperture around f/11, and a shutter speed between 1/125 and 1/250 seconds. These are just an indication of where to start, but a lot depends on the conditions you have: adjust as needed.
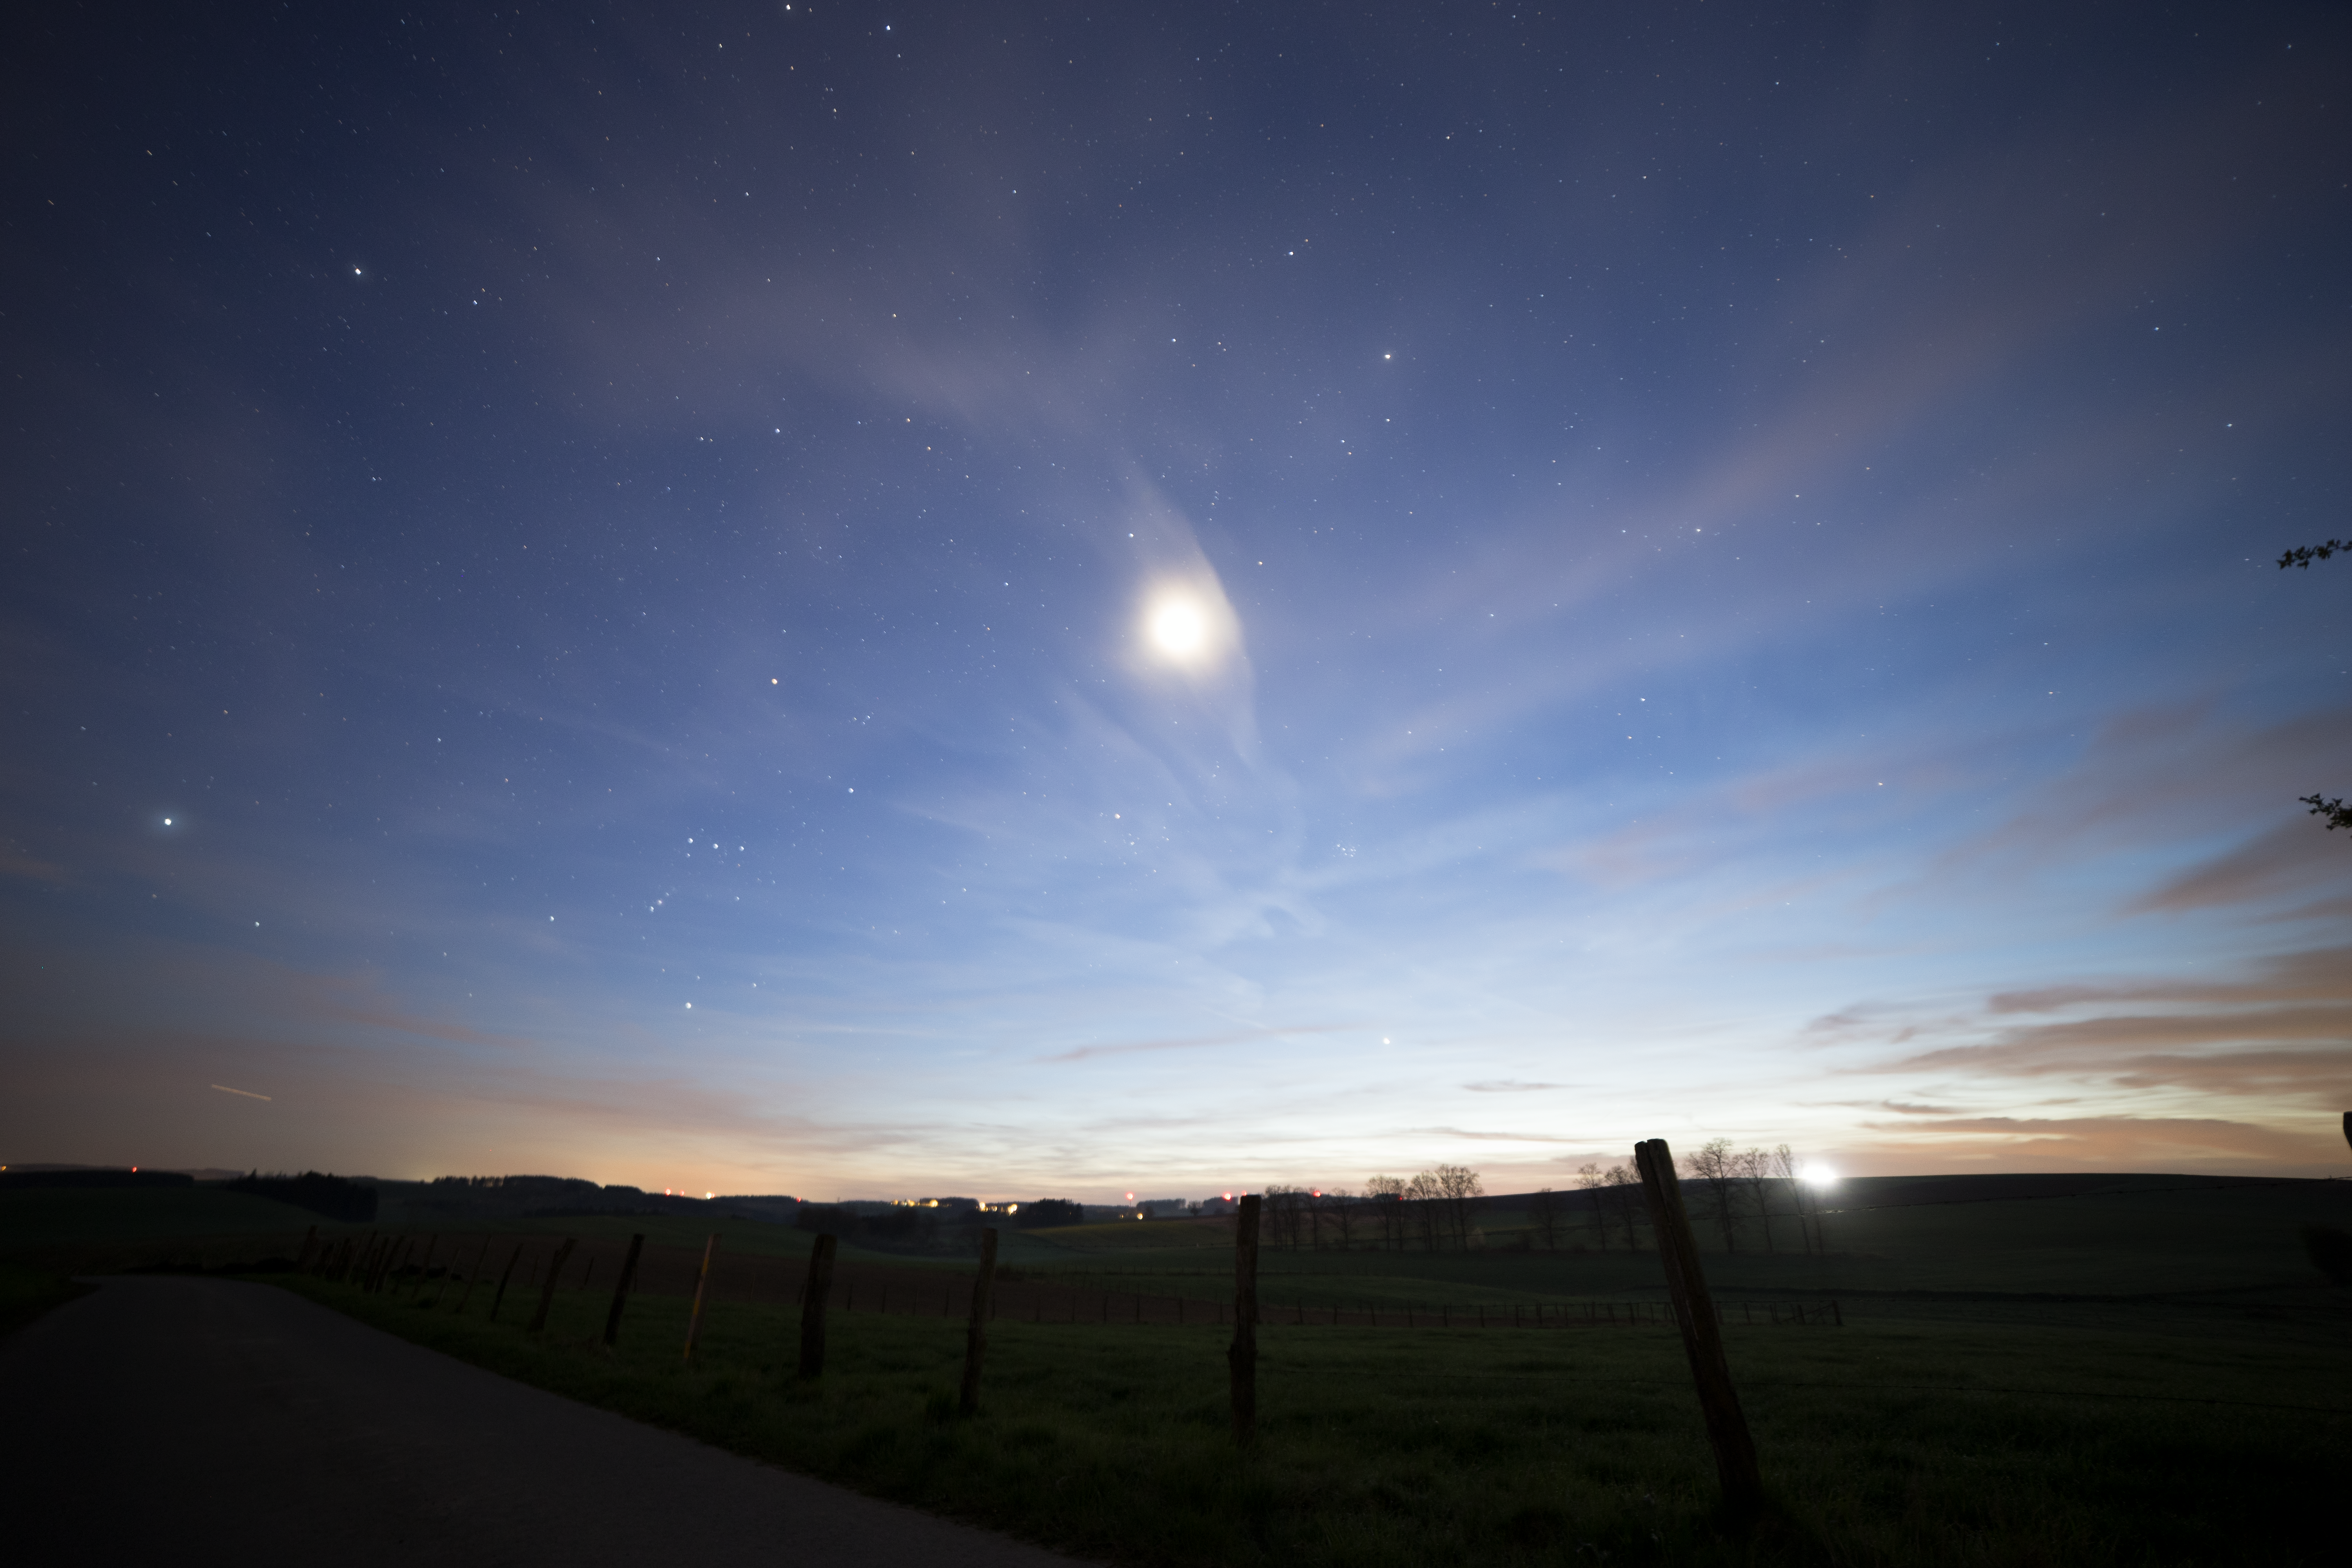
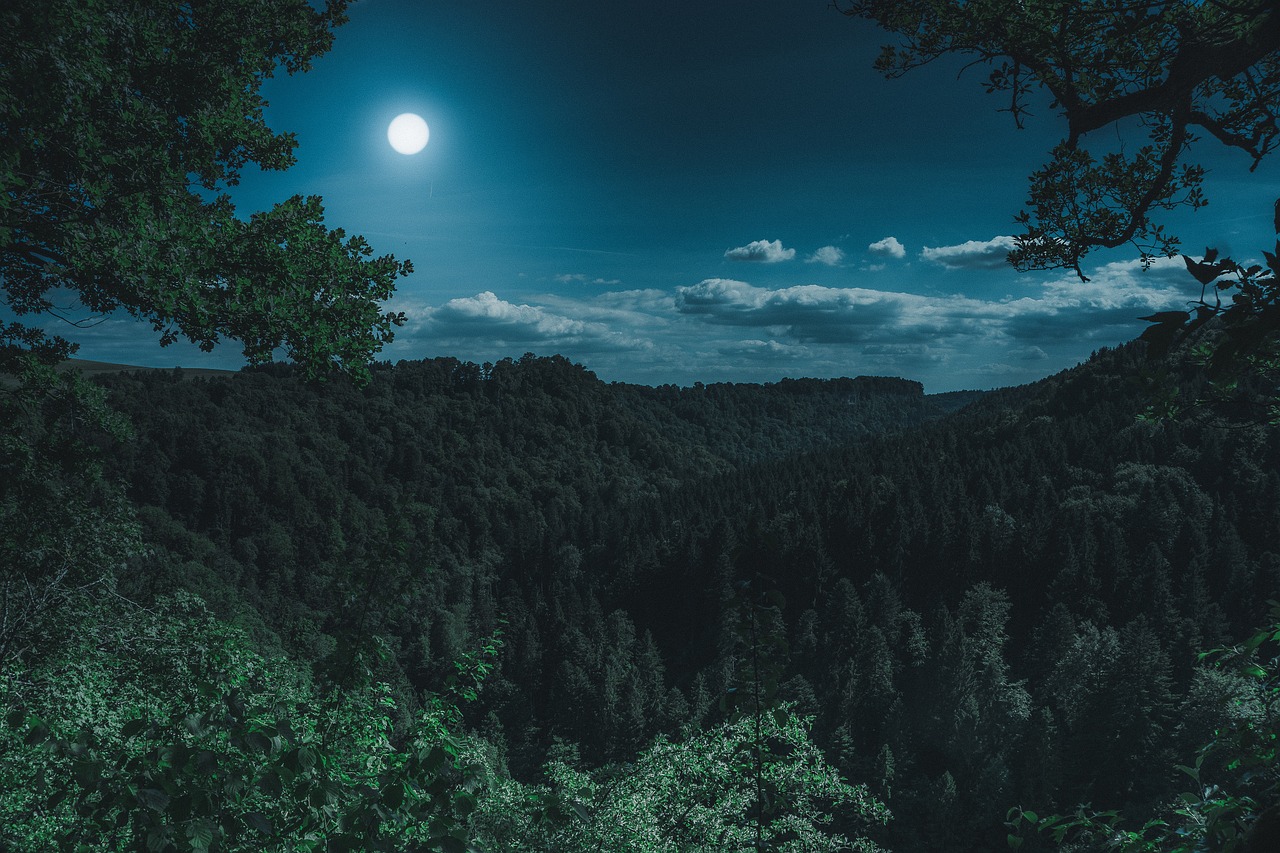
Use manual focus to get the sharpest image, zooming in on your camera’s live view screen to ensure the details are crisp. To prevent camera shake, use a remote shutter release or the camera’s timer function. Don’t be afraid to play around with different settings and compositions. Try capturing the moon with interesting foreground elements like trees or buildings.
Here are a few pro tips for stunning shots. Shoot during the blue hour, the time just after sunset or before sunrise, to give your moon photos a beautiful, soft light. Capture moonrise and moonset for dramatic lighting and stunning images with the moon close to the horizon. Use the rule of thirds by positioning the moon off-centre in your frame for a more balanced and captivating composition.
The moon is friend for the lonesome to talk to ― Carl Sandburg
Exploring the moon and capturing its beauty can be a rewarding and enchanting experience. With a little practice and patience, you'll be amazed at the details you can see and the stunning photos you can create. So grab your binoculars, set up your camera, and let the moonlight guide your way.
Happy moongazing!