Capturing Solar Drama
From the outset of my journey into astronomy and astrophotography, capturing images of the Sun has held a special allure. While distant galaxies and nebulae boast breathtaking shapes and vivid colours, the Sun beckons as our closest celestial neighbour and the lifeblood of our Solar System.
Secrets of Solar Imaging Unveiled
Nestled in the vastness above, yet intimately close, its warmth and radiance are palpable. Beyond its symbolic significance, studying the Sun offers a profound window into the nature of stars themselves.
Before delving into techniques and equipment, let's understand the Sun's composition. Deep within its core, thermonuclear fusion transmutes hydrogen into helium, generating the energy that sustains life and radiates as visible light—individual photons dispersing across the cosmos.

The Sun's atmosphere, where the magic unfolds for us observers, reveals layers emitting light across diverse wavelengths. Each layer demands specific filters for optimal observation—choosing wisely ensures clarity and safety for both observer and instrument alike.
These are some of the most common filters in amateur solar imaging:
- White light (WL): For basic solar imaging a white light filter suffices, highlighting the photosphere where sunspots emerge, at a reasonable price. Refractor telescopes benefit from Herschel wedges or prisms, whereas other optics can employ various filters like the Baader Astrozap or Thousand Oaks' Solarlite film.
- Calcium K line (CaK): Stepping up, Calcium K line filters unlock pricier but mesmerizing views, unveiling sunspots and fine chromospheric details, in the violet part of the spectrum. These are integrated directly into the optical path, enhancing clarity for refractors or in conjunction with Herschel wedges.
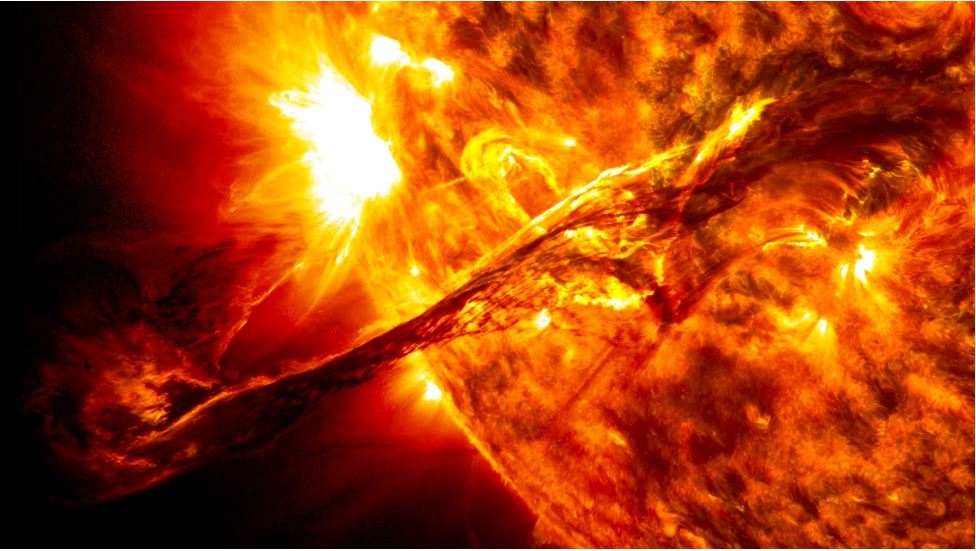
- Hydrogen-alpha (H-a): At the pinnacle of solar imaging lies the hydrogen-alpha filter, a marvel revealing the Sun's upper chromosphere with unparalleled sharpness and detail. Though pricey, these filters or dedicated H-alpha telescopes like Lunt or Coronado deliver breathtaking views of solar flares and filaments. A valid alternative is provided by H-a filters, such as the Daystar Quark, which are screwed in the diagonal just before the eyepiece or camera.

Personally, I favour the drama of hydrogen-alpha imaging, harnessing monochrome cameras renowned for their sensitivity. The likes of ZWO and Player One excel in capturing the Sun's dynamic features with high frame rates and CMOS sensors ensuring vivid detail.
Now let's dive into my flow for solar imaging.
Phase 1 – Capturing
In astrophotography, this is the most crucial step of the process, for obvious reasons: there’s little you can do in post-processing to fix a dull image. Capturing the Sun demands precision—focus is paramount, and atmospheric turbulence, known as “seeing”, can make or break an image. Optimal conditions typically favour mornings when atmospheric disturbance is minimized, particularly over water bodies.
Free software like SharpCap or FireCapture govern the recording process, crucial for “lucky imaging”. Videos are best captured in SER format, which is more complete and easier to work on than other formats. Adjust exposure and gain to stay within 70-90% of the histogram, depending on seeing conditions. Over this range, the image is overexposed and will appear as a bright patch with no details.

Remember, the higher the exposure time is, the lower the frame per second (FPS) gets, meaning you’ll need longer videos during which the seeing could turn bad or clouds may roll in (a classic!). On the other hand, higher gain means more noise, so it’s important to find a good balance between exposure time and gain.
For solar photography, around 2000–3000 frames are usually enough, with 300-500 good frames needed for a good quality image. In poorer conditions, I may shoot up to 5000 frames per video, aiming for 5-10% usable frames.
Phase 2 – Stacking
Post-capture, I load my video to the free stacking software AutoStakkert!3, which selects and stacks the best frames, enhancing clarity and minimizing imperfections. Generally, I stack between 10% and 20% of the best frames, depending on the overall video quality.

The stacked image generally looks a little blurred and certainly nowhere near the amazing picture you were expecting; nothing to worry about, this is where post-processing works its magic. A final touch involves converting the monochrome image to RGB, artificially infusing colours that align with the filter used—blueish for Calcium K line and reddish for hydrogen-alpha, reflecting the spectral bands through which these filters operate.
3 – Post-processing
The first thing a stacked image needs is some sharpening to bring out as many details as possible. This step can be done in nearly any image-processing software, although the free astronomy tools ImPPG does an exceptional job, in my view. Rather than wavelets, ImPPG uses Lucy Richard deconvolution technique, which allows for more precise tweaks.

When done, I run the image in GIMP or Lightroom where I do the final adjustments. The first thing I do is crop the image to leave out any stacking artefacts, then I adjust exposure and contrast and play slightly with shadows, mid-tones, and highlights to bring out some more subtle details.
Now, this final step may come as a surprise to you, but I can assure it is common practice. As monochrome cameras represent the best option for solar imaging, the final image is of course black and white and as such it must be coloured artificially.
To do that I convert the image from greyscale to RGB, and with the use of curves in the red, green, and blue channels I give my solar image the colour I like. As we saw before, Calcium operates in the violet part of the spectrum, so I would give the Sun taken with a CaK filter a bluish, violet tint.

Hydrogen-alpha, on the other hand, operates in the red-orange part of the spectrum, so my H-a pictures generally have a reddish, gold or orange hue, depending on my mood. To achieve that, I push up the curve in the red channel and move down the curves in the blue and green channels. I know, I know…it sounds like cheating, but this is solar photography!
Remember: Solar imaging thrives on experimentation and adaptation. Techniques evolve, refined by creative exploration with equipment and software until a personal method emerges. The Sun, in its ceaseless activity, offers a canvas that perpetually inspires awe and discovery.
Crucially, safety is non-negotiable. NEVER EVER point your telescope toward the Sun without using a proper, safe solar filter. Looking directly at the Sun can and will damage your eyes and your instruments irreversibly! Also, always ensure that the solar filter is well attached and stable before pointing your telescope toward the Sun.